Setup Server Settings
Before you do anything else, you should configure the server settings. To do this, go to Settings and the Server Settings section immediately after logging in.
Generall settings
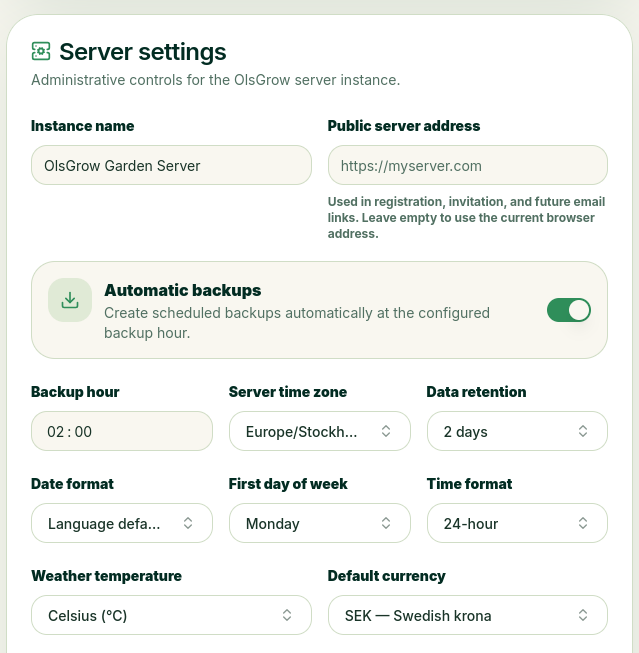 Start by giving your server an appropriate name under Instance Name. This will appear in email messages, among other places. The Public Server Address is used to ensure correct links in emails, etc. We recommend that you configure this.
The system automatically performs backups so you won’t lose data if something happens. Therefore, set the Backup Hour, which determines the time of day when the automatic backup should run. Data Retention specifies how many days old backups should be retained. Choose whatever you think is appropriate.
Date Format lets you adjust the format used for dates. By default, it follows the selected language. First Day of the Week: You can set whether the calendar should start on Monday or Sunday. Time Format lets you choose between 24-hour and 12-hour formats. Then there's Weather Temperature, where you can set which unit to use. Default Currency is used in Inventory
Pl@ntNet
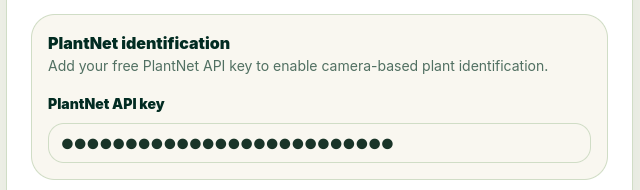
To identify plants from photos and determine what disease a plant has, we use Pl@ntNet’s free API. You’ll need to go to Pl@ntNet and create an account to generate an API key, which you can then paste here.
Important
With this free service, you can identify up to 500 times a day.
Firebase Push Notifications
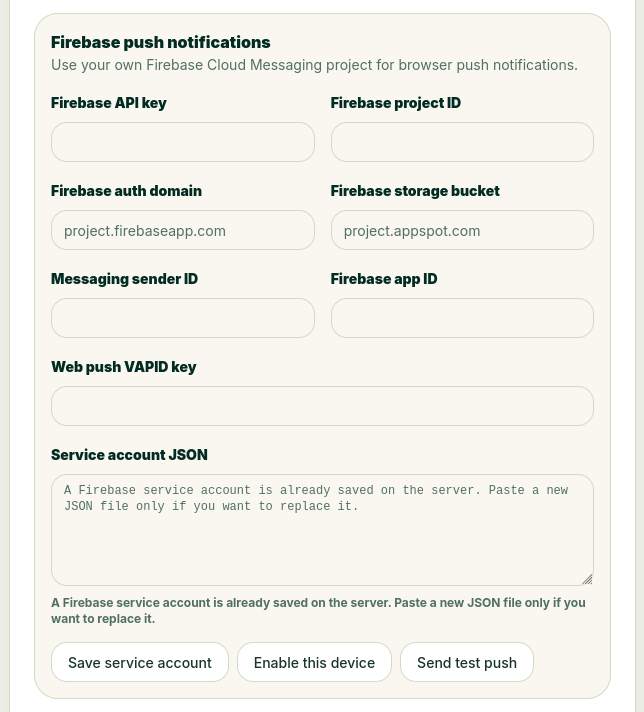 To send push notifications through the app, you’ll need a free account on Firebase. All you need to do there is create a project to access the necessary information. Once you’ve created the project, go to Settings and the General tab. There, you’ll find Your apps, and you can create a Web App if you haven’t already done so.
In that app, you'll see SDK setup and configuration. It doesn't really matter which one you choose, because you need to know your keys and ID. Copy these into the appropriate fields under Firebase push notifications.
To find your unique VAPID key, go to Settings, then Cloud Messaging, and under Web Push certificates, you'll find the Key Pair you need.
In addition, you’ll need a Service Account JSON. Under Settings and the Service Accounts tab, you can generate a private key and download it. Open the file and copy the contents under Service Account JSON, then click Save Service Account
You must enable push notifications in the system; you can do this further down under Server Settings.
SMTP Settings
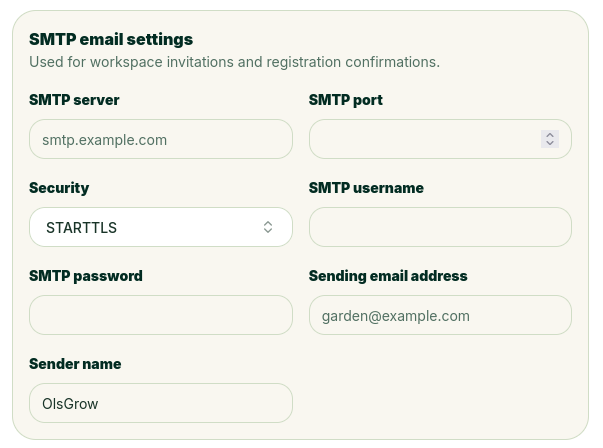 SMTP settings are required to send emails; if you haven't configured them, you won't be able to invite more users or allow others to register.
Enter all the information for your SMTP server so that OlsGrow can send emails.
Enable Features
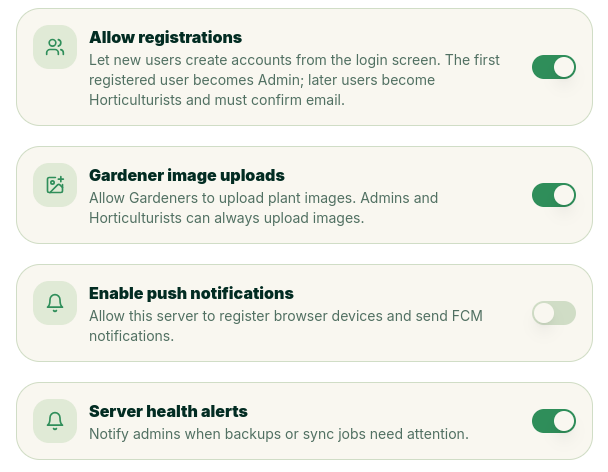 Activate various features in OlsGrow according to your preferences. Allow Registrations lets anyone register and get their own "Workspace," as it’s called. They won’t have access to what you create, only the ability to view what you post in the Plant Database and contribute to the database themselves.
Configure whether you want users with “gardener” permissions to be able to upload images to the site. The Enable Push Notifications feature allows push notifications to be sent automatically. You must first set up your Firebase credentials.
Server Health Alerts notify administrators of important issues that may require attention.